
Editing process
- 13 janv. 2019
- 3 min de lecture
Dernière mise à jour : 22 avr. 2019
Following my ideas organized in the script and storyboard, I included techniques such as cut-to-the-beat, lip sync, chronophotography and slow motion.
After selecting several footage from each location, I started to adjust colors, to crop, to cut and to create some effects on Adobe Premier on some footage. Then I putted together all the shots according to my preferences and my aims.
Organization
For the process to be faster I classified my footage in different files. It also helped me to select the most appropriate ones for my final music video.


Color correction:
I mainly adjusted the brightness and contrast of the shots but I also used the "Fast Color Corrector" category at different levels depending on the settings, light and the effect I wanted to obtain.


For the empty location (1/2), having in mind that this part is supposed to represent the "bad memories", I particularly decreased the saturation in order to have a more cold atmosphere.
For this shot (3), as I wanted to only see the silhouette of the model, I mainly decreased the contrast and the brightness as well as increased the input levels.
For the botanic garden (4/5) , I wanted to keep the warm colors to obtain a clear contrast between the model and the surroundings.
For the bedroom location even I want to keep the colors warm to contrast with the empty location feelings, I slightly decreased the saturation and increased the input levels. For the traits of my models to stand out more, I also increased a bit the sharpen amount.


Chronophotography
.
I have been inspired by the experimental film “Choros” by Michael Langan and dancer Terah Maher, whereas the dancer movements are transform into waves of motion by 32 layers, giving an effect of echo.
I then realized that this technique actually fits and intensified the connotations I want to create through my video: representation of my model being confuse, lost, tormented from her feelings.
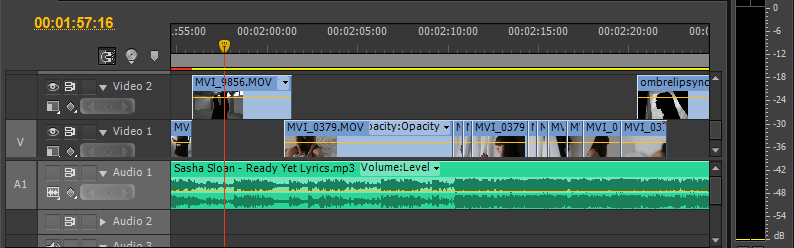
First trial:
From a static shot, I have added the same video 3 times into layers at different interval times and by decreasing their opacity. It didn't take me much time, I quickly understood how it works.
Lip sync:
Due to my preliminary work I already knew how to manage this technique, but it was the first time I was doing it with my model. The lyrics of my song aren't complex and easily catchy, my model learnt them fast, however in several footage she made some mistake which obliged me to erased those parts, but as I filmed a lot I had enough to complete my final work.
Including lip sync enhance the fact that it's about her story, her words, her perspective, so more realistic and it adds also an emotional layer.
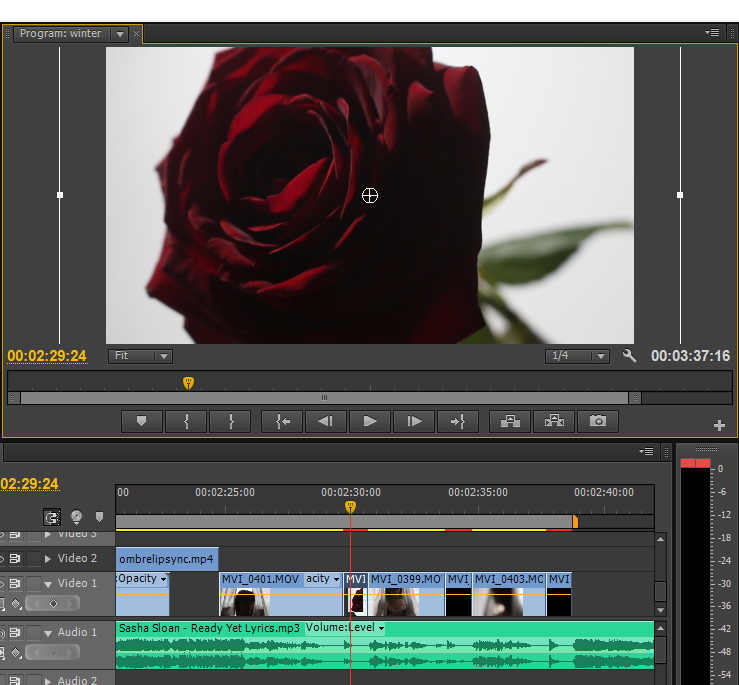
Slow motion:
I used this technique for actually a lot of shots in the botanic garden, some in the empty location and for every shots of the rose burning. Adding this slow motion feature also matches really well with the rhythm of the song.
Following my initial plans, in the botanic garden I wanted to accentuate the idea of the protagonist "searching her way", being "lost", and the slow motion option is working perfectly for this aim.
In the empty location I used it to show more obviously her "rage" and "anger". The viewers have more time to understand her distress.
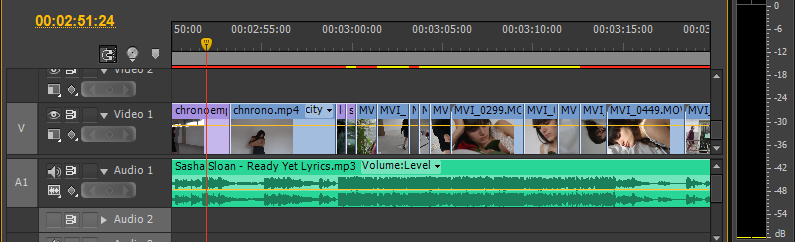
Assembling all footage
After I looked through all of the video I took and after I edit some selected shots as previously showed, I opened one single project on Adobe to build up the final video by assembling footage.
I added each videos after one other in order to check if they match together. To select the appropriate shot was long because for each locations I had approximately more than 100 videos, but I succeed to manage after various trials.


I also cropped and re-framed several shots of the roses and some from the botanic location.
Different versions and trials:
.
After I was done with the assemblage of all the shots and the color correction, I tried to include black bars on the side in order to finalize the result:

Having bars on the right and left sides add a vintage style of the video, and as the lyrics make reference to memories, events in the past and create a nostalgic effect, it may intensify this aspect.
I also tried to add black bars on the top and bottom, a conventional features of music video that give a cinematic look.

Commentaires